Thumbcache
Description: Thumbnails of pictures, office documents, and folders exist in multiple databases known as thumbcache. Each user will have their own set of databases. The databaes are based on the thumbnail sizes viewed by the user.
Location:
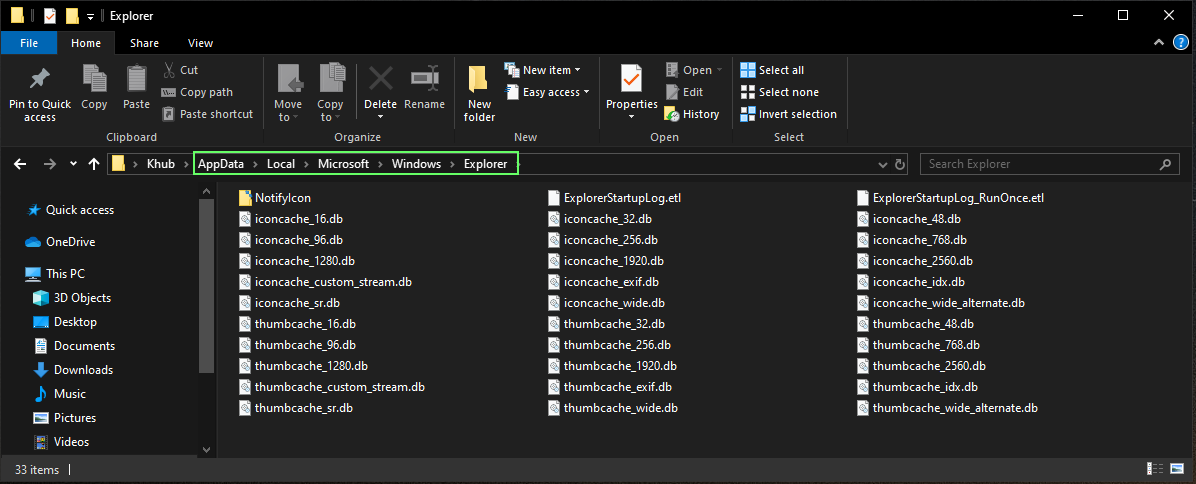
- C:\Users\<username>\AppData\Local\Microsoft\Windows\Explorer
Notes: These are created when a user switches a folder to thumbnail mode or views pictures via a slide show. As it were, our thumbs are now stored in separate database files. The Thumbcache will store the thumbnail copy of the picture based on the thumbnail size in the content of the equivalent database file.
Analysis: Depending on the Operating System you are analzying, you many encounter
different size formats of thumbcache databases. When thumbcaches were first introduced with Windows 7, only
small, medium, large and extra large thumbnails were cached. Now on Windows 10, there are upwards
to 15 different size formats for thumbcache databases. Windows 8 and Windows 10 also introduced a new
database known as iconcache, which follows a similar purpuse as thumbcache but for icons.
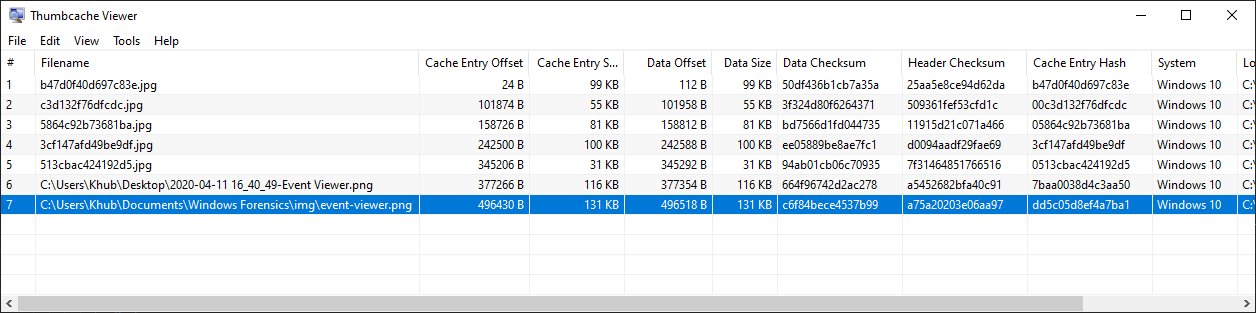
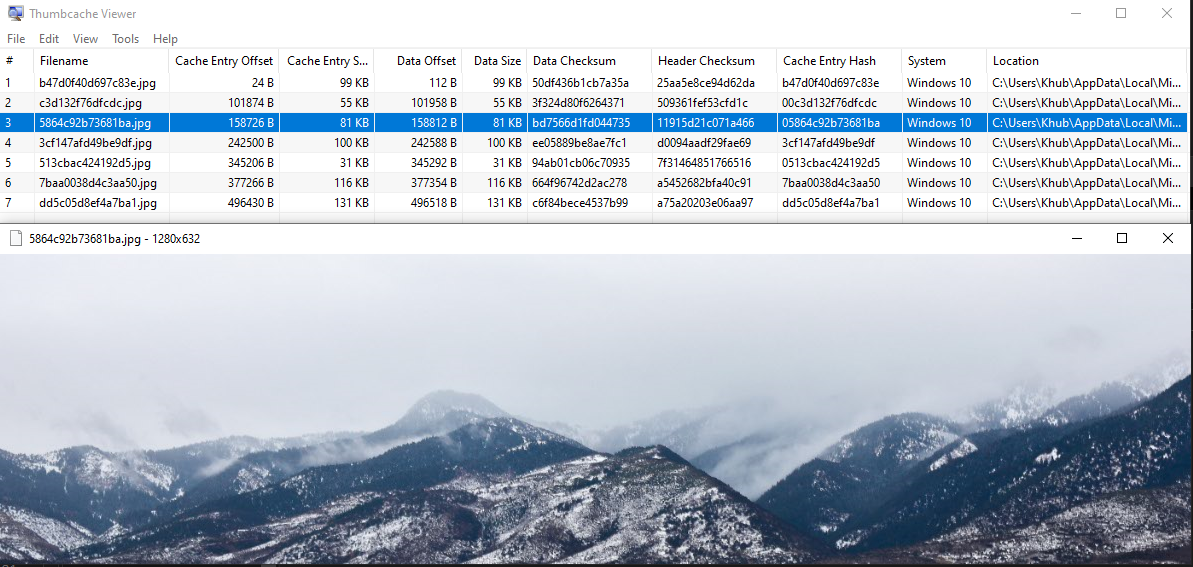
We can analyze these databases with Thumbcache Viewer, a GUI
application created by Eric Kutcher. You can load one or more databases into Thumbcache Viewer for analysis. An image of the selected file will be displayed in a second window.
You may have noticed that the file name isn't an a human readable format. To remedy that, Thumbcache Viewer has a feature we can take adavantage that cross references the Windows Search database in order to map the file paths of images within the Thumbcache database. The Windows Search database is located at C:\ProgramData\Microsoft\Search\Data\Applications\Windows\Windows.edb. After exporting the C:\ProgramData\Microsoft\Search\Data\Applications\Windows\ directory, the Windows.ebd database is considered to be in a dirty state. We can resolve that by using esentutl, a built-in Mirosoft utility for working with ESE databases. In a command prompt windows, navigate to the Windows.ebd directory and run esentutl /r edb /d.
Now that we've repaired the Windows Search database, we can return to Thumbcache Viewer and select Map File Paths... from the Tools dropdown menu. Alternatively we can also use the Ctrl + M keyboard shortcut. Select Load ESE Database and point it to your repaired database. Select Scan to start the analysis.

Thumbcache will now display the file names and paths for the images it was able to succesfully identify in the Windows Search database. In the example below, it was able to successfully map out the full path of the files that still exist on my file system. The other images have already been deleted. Highlighting the potential for referencing thumbcache databases to get a glimpse into what files might have previously existing on an endpoint.